

|
|
|
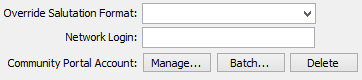
Community members must have accounts set up on the Community Portal before they can log in. You can set up several accounts at once in a batch file. See Creating Community Portal accounts in a batch.
Note: If wish to manage Community Portal accounts on a system that is not the IIS web server, you must first enabled networked Community Portal account management. See Enabling Community Portal account management across a network.
To set up a community member's portal account:
The Password Manager window appears.
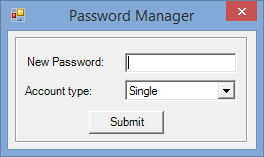
The Confirm Password window appears.
Last modified: 14/07/2016 4:48:49 PM
|
See Also Customising login and database authentication Security settings for the Community Portal Single sign on authentication settings Running the Community Portal against multiple database servers |
|
|
|
© 2017 Synergetic Management Systems. Published 19 July 2017. |
