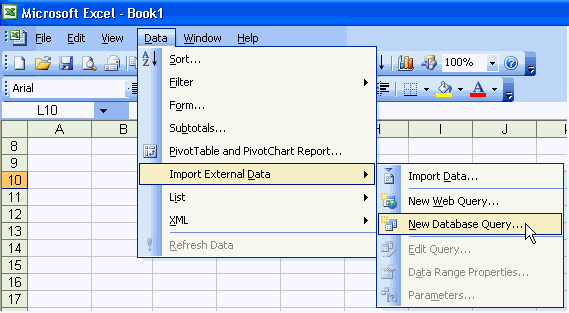
The following example shows how to extract student names and contact details from the Synergetic database using the Microsoft Query wizard.
.gif)
The Choose Data Source window is displayed.
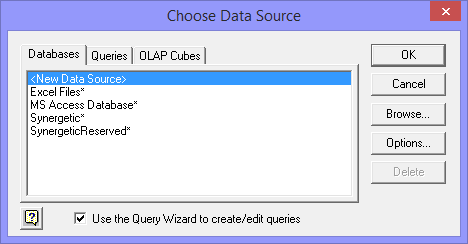
Note: Entries prefixed with 'SynergyOne' are pre-Version 68 entries.
The Options area is displayed.
The SQL Server Login window is displayed.
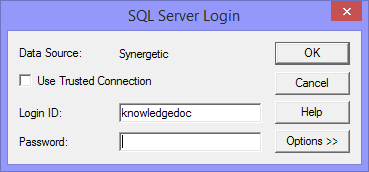
Note: This is your usual Synergetic username and password.
The Query Wizard - Choose Columns window is displayed.
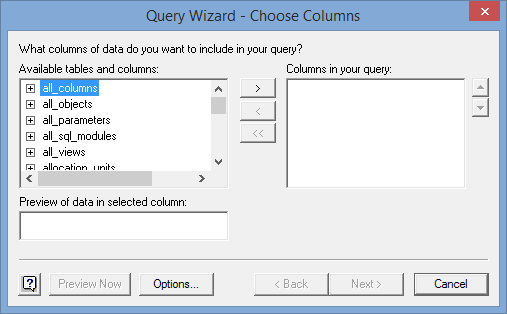
Note: Only the tables and columns you have permission to access are displayed. If you need more views, contact your system administrator.
Tip: You can limit the number of Available tables and columns displayed by clicking ![]() then selecting dbo from the Owner drop-down list to show just the standard Synergetic objects.
then selecting dbo from the Owner drop-down list to show just the standard Synergetic objects.
.gif)
Note: If you click this button while the view name is selected then all fields in this view will be added to the columns in your query. However, you rarely need to use all of the fields in a view or base table.
Note: Scroll down in the Available tables and columns area to find each of the fields.
Note: See the Useful fields section below.
.gif)
The Query Wizard - Filter Data window is displayed.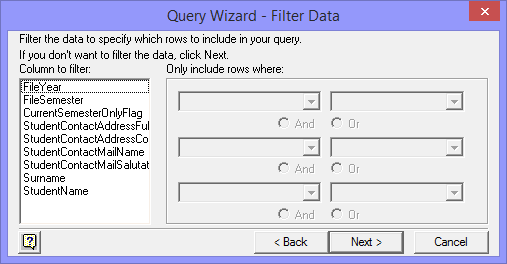
Tip: You can also come back to this screen at any time by clicking ![]() while you are still using the wizard.
while you are still using the wizard.
.gif)
Tip: If the view contains the CurrentSemesterOnly flag, you can use this instead of FileYear and FileSemester fields to select the File Year and Semester defaults you have defined in your preferences.
Note: When you choose your filter the Column Name becomes bold, this will let you know what fields you have already applied filters to.
The Query Wizard - Sort Order window is displayed.
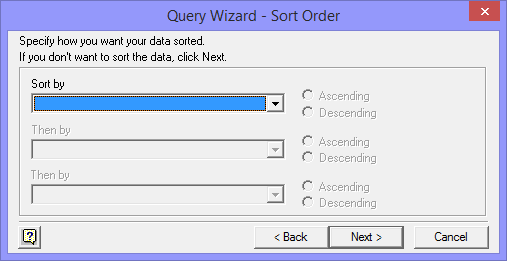
For example, click the drop-down list and select Surname. Leave the sort type as Ascending.
Note: Ascending order is A-Z, descending order is Z-A.
.gif)
The Query Wizard - Finish window is displayed.
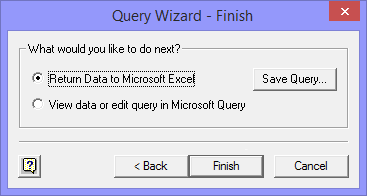
The Save As window is displayed.
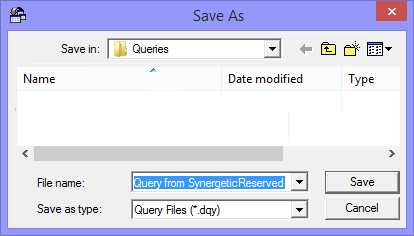
The Query Wizard - Finish window is redisplayed.
The Import Data window is displayed.
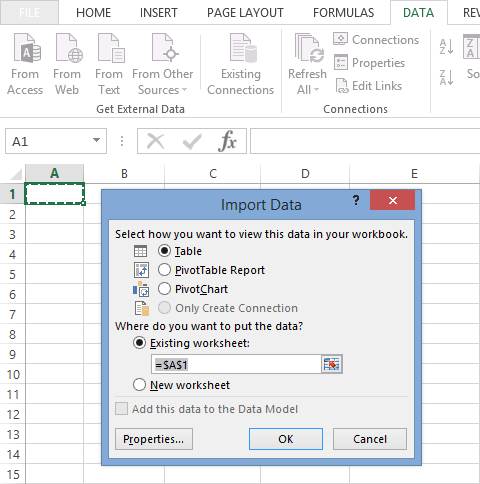
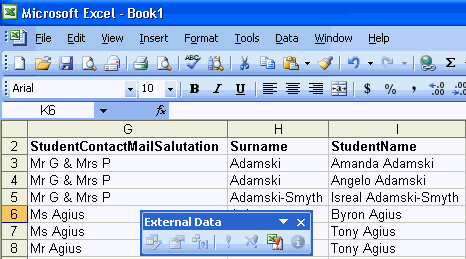
The data is retrieved and placed in the spreadsheet.
Tip: Select Data >Import External Data > Data Range (Microsoft Excel 2003) to edit additional query settings.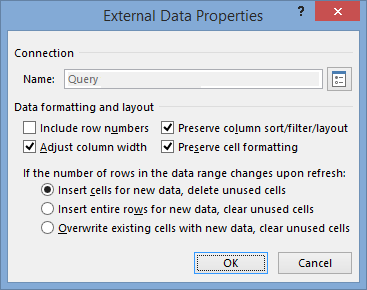
Useful fields
The following fields are useful when querying Current Student views using the Microsoft Query wizard:
For information on other useful fields and generated fields, see Synergetic views.
Field |
Description |
|---|---|
CurrentSemesterOnlyFlag |
Only view data from the current year and semester. The default value in this field changes depending on the user’s Synergetic preferences. It is preferable to use the CurrentSemesterOnlyFlag rather than FileYear and FileSemester fields. |
FileYear |
Use to set the current year, to avoid using information from previous or future years. |
FileSemester |
Use to set the current semester, to avoid using information from previous or future semesters. For example, when using FileYear and FileSemester: If using the same query three years from the date of creation, you will need to reset these filters to match the current year and semester. These selections would only be useful if you want to access prior years on the database. |
ContactAddressFull |
Gets the contact’s address and organises it in a mailing format such as: Synergetic Management Systems Building 4, 303-313 Burwood Hwy Burwood East VIC 3151 |
StudentContactAddressComma |
Places commas in the address, used for listing names and addresses. For example: Synergetic Management Systems, Building 4, 303-313 Burwood Hwy, Burwood East VIC 3151 These fields are constructed from the Address1-3, Suburb, State, PostCode and Country. They also take into account whether the current person is deceased or the address is no longer valid on the system. |
StudentContactMailName |
Defined by the MailFormat in Community Maintenance, this field is normally in the format of Contact Title and Contact Spouse Title Contact First Initial Surname. For example, Mr and Mrs P Bailey. |
StudentContactMailSalutation |
Organises the ContactMailName in the format you have specified within Synergetic’s Community Maintenance, MailSalutation. For example, you can remove the contact’s initial. |
Surname |
Used for sorting purposes. You can later delete the field but keep the sorting. If you are using the wizard then you need to add it now. |
StudentName |
Student’s Name and Surname joined together. It will be used later when doing a Mail Merge within Word. If you want only the student’s preferred name then you may need to join to another table or select a different field in the view. For example, Brian Smith. |
EntryDate / LeavingDate |
The EntryDate and LeavingDate are used together to filter out students who are not at your organisation at a certain date. All students should have an entry date, after which date they are present at your organisation, unless they have left. |
Last modified: 20/07/2017 1:38:18 PM
© 2017 Synergetic Management Systems. Published 20 July 2017.